All dental implant surgeries can be classified into two types:
Despite the fact that a two-stage surgery technique is a more complicated procedure (and the patient has to attend you more often), you should start your implant dentistry practice with this protocol. It will enable you to learn by experience how gum tissues correlate with bone volume and will eventually enable you to gain expertise in determining bone volume without relying on computed tomography. A two-stage surgical procedure prevents food particles from getting caught in the peri-implant space due to mucosal hermetic seal.
A surgery, naturally, starts after anesthesia. You are welcome to use any solution in anesthesia (whether Lidocaine or Articaine, or alike) and you are welcome to apply any anesthetic technique you like. It is immensely important that the patient should not feel pain, for only then you will be able to concentrate on the surgery.
INCISIONLater, having gained enough clinical experience, you will be able to perform numerous surgeries and you will certainly have your own ideas concerning surgical incisions. However, I strongly recommend that you should start with the classical midline incision on the alveolar ridge.
Do not be afraid of cutting through the dental papilla. There is a fallacy that dental papilla incisions cause recession.


If you perform a neat incision (it goes without saying, that a disposable surgical blade must be used) and a neat surgery, it will heal without leaving a scar. If, trying to save the dental papilla, you make a vertical incision (which almost always leaves a scar) and then unintentionally sever or damage the dental papilla during surgery, there most certainly will be an unattractive scar. The incision is made at the cemento-enamel junction of the tooth adjacent to the defect. Press the scalpel to the tooth without applying excessive force and make a papilla-base incision via the crest of the alveolar ridge on the other side of the defect. The scalpel should be placed at an acute angle to the bone (it is advisable that you should use surgical scalpel blade No 15C, though occasionally No13 can be used 2.5-7A).
MUCOPERIOSTEAL FLAP ELEVATIONIf the defect is surrounded by teeth, the separation should be started with the dental papilla with the raspatory placed behind the tooth. Should it be impossible, start in the middle of the flap.
The first solution is more effective when elevating the palatal flap or the tongue flap. Insert the straight raspatory in the incision vertically and slowly turn it so as to place it horizontally, then slowly rotate it on its axis and slightly push it forward. As soon as the working area of the raspatory emerges in the periosteum, slowly pull it upwards leaning on the bone. After that, without changing the raspatory position, make an incision beneath the periosteum, moving medially and distally. Repeat the same for another flap 2.5-7B. Do not haste when elevating a flap. Flap elevation procedure is one of the most laborious and essential surgical procedures (especially important in areas of esthetic concern).
Be very careful when the raspatory emerges in the periosteum. Remember that the cortical bone is always smooth (unless a tooth has been recently extracted).
If instead of seeing bone, you see soft tissue bleeding and flap elevation was complicated, you must have severed the mucous membrane, while the periosteum is still attached to the bone. To make sure, wash the site with cool physiological solution from the physiodispenser.


If you have managed to separate the periosteum, the bone will not change its colour under the influence of physiological solution. However, if the periosteum has not been separated, the bone will turn milky-white.
Once mucoperiosteal flap elevation is successfully over, your assistant (nurse) places the retractor beneath one of the flaps, and the saliva ejector beneath the other.
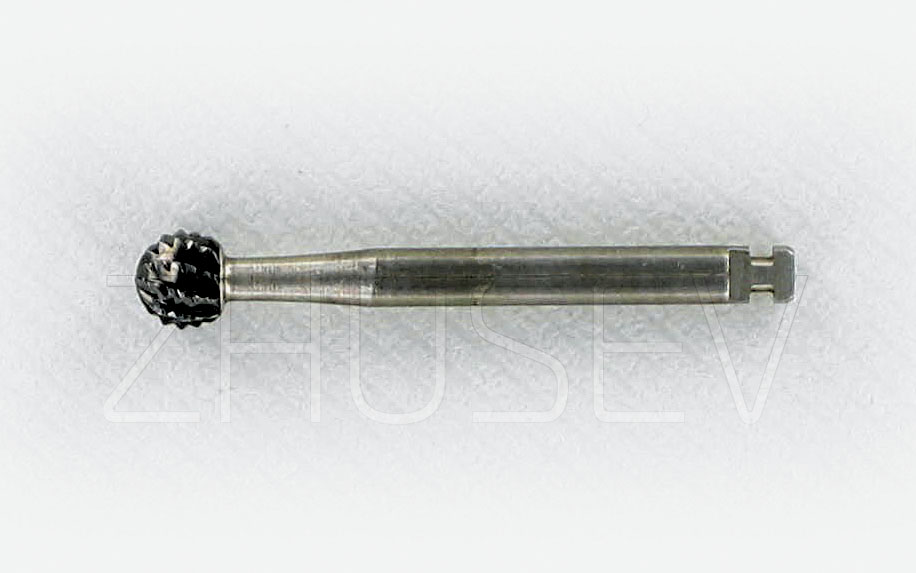
Use the Lindemann bur 2.3.8 or the spherical dental drill to create the implant installation axis. Drill point geometry makes it effective for cutting through the bone, bone sampling, smoothing over the alveolar ridge.

I have already mentioned that bone drilling must be performed delicately with pauses, the bone must be constantly cooled with cold sterile physiological solution. The flowing of physiological solution must always precede the rotation of the drill. If it is possible from the anatomical point of view (this is hardly possible at the maxillary site), try to make a little puddle of physiological solution at the site of drilling. It is highly advisable that every time before initiating drilling, you should turn on the physiodispenser to cool the bur or the drill with some cool physiological solution (1 – 2 sec.). Only a rotating drill can be inserted into the bone and extracted from it. Never insert the drill into the bone and then start rotating it. It is extremely dangerous. When starting rotation, a drill is bound to twitch and may get trapped in the bone. Should it happen, never try to tug the drill out (never try to go on drilling either, which will be even worse). Nowadays, every physiodispenser has the reverse rotation option.

Use the option (do not move your hand with the stuck drill) to let the drill rotate counter-clockwise and get free. Drills usually get stuck when you try to change the inclination. When drilling, the inclination must never be changed. The transition between different diameter drills is another crucial issue (the producers of modern implant systems have elaborated the transition scheme). The smaller the drill, the lower the traumatic impact on the bone. The transition from one diameter drill to another diameter drill should be gradual. It is impermissible to use a 3.5 mm drill immediately after a 2.2 mm drill (the diameter difference is 1.3mm!). You may, probably, make a hole in the bone using the above mentioned combination of drills, but it will be energy consuming and, what is more important, it will inevitably traumatize the bone and consequently result in bone loss or implant rejection.
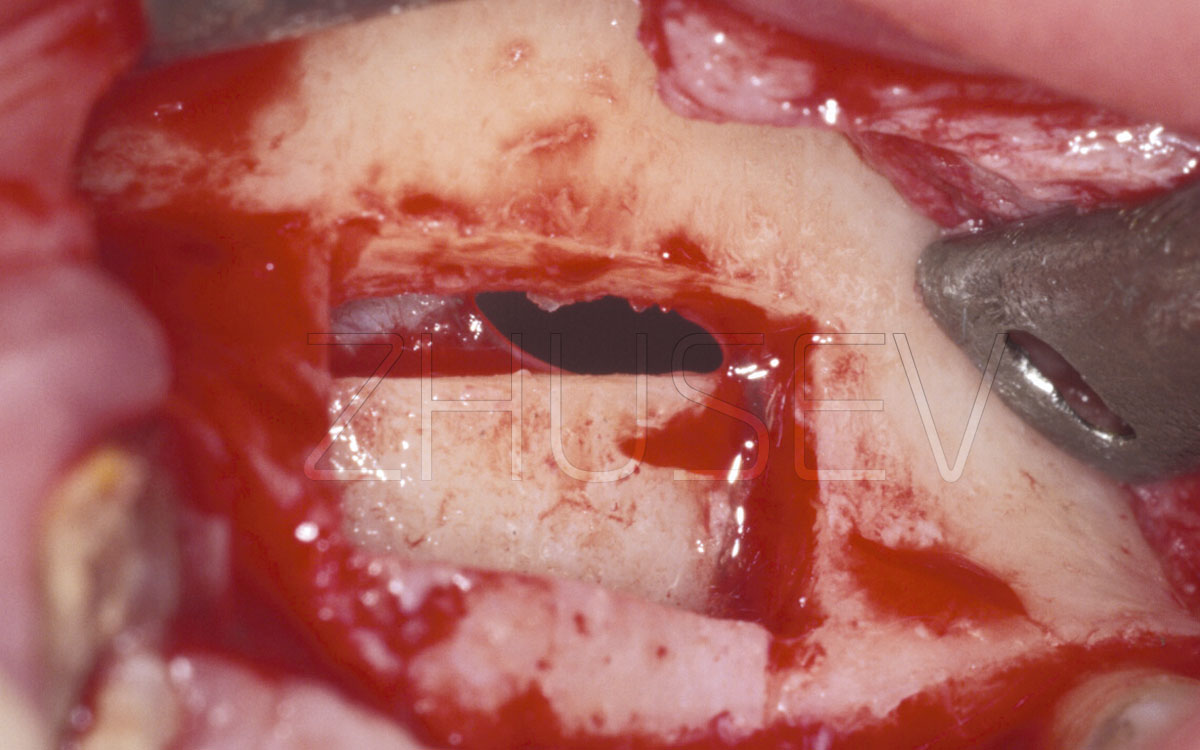
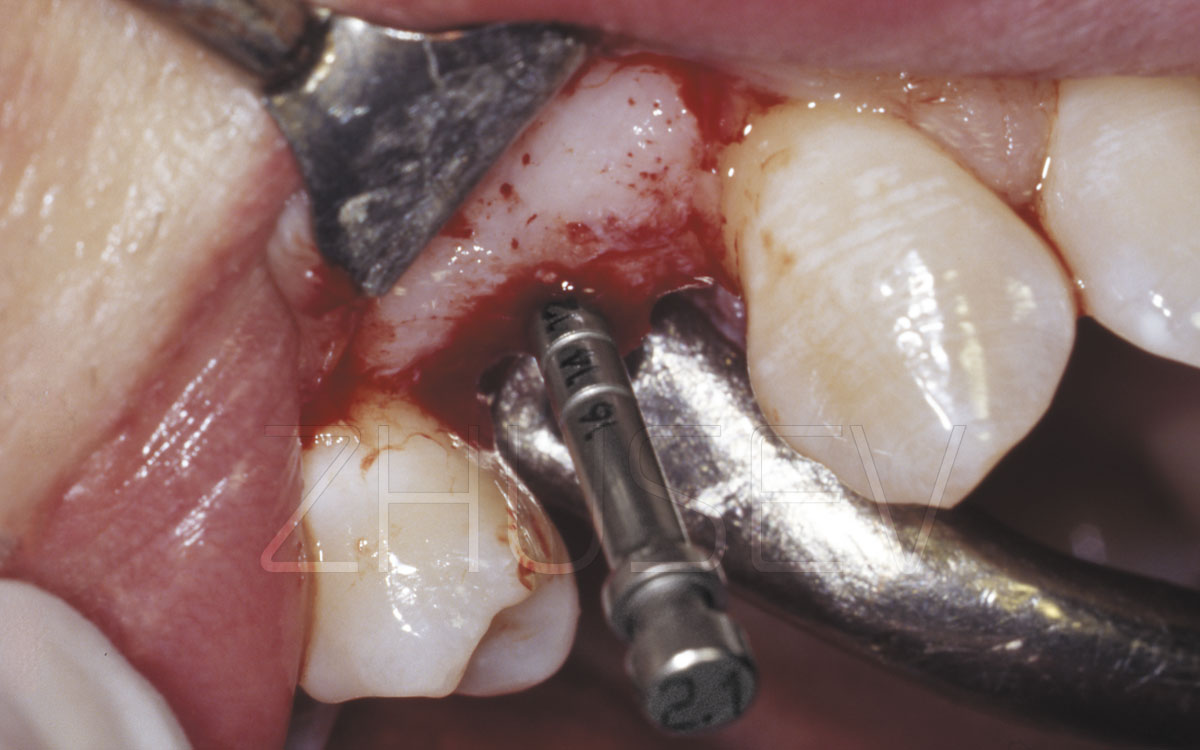
Having completed every stage of drilling, use the depth probe to see whether the hole needs drilling 2.5-7E.


Unpack the implant only after you have perforated a hole of the required depth and diameter (and have threaded the bone, if necessary). It is highly advisable that your assistant should unpack the implant above the operating table lest the implant should fall on the floor (such things can happen).
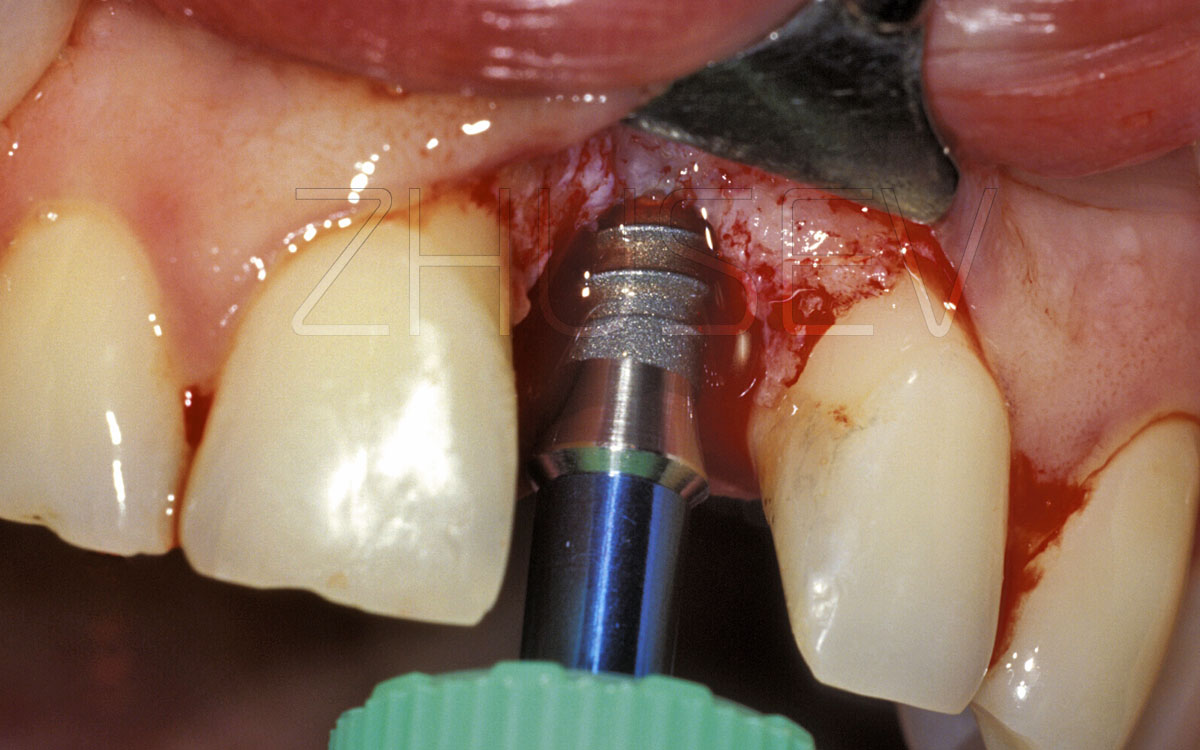
Insert the implant only after you have washed the bone bed to remove the blood clots and to make the bone bleed again. This way you will ensure a closer blood-implant contact and will consequently secure a greater bone-implant contact.
Use the threading tap to thread the bone and insert the implant using manual tools rather than the handpiece. This will develop the tactile sensation of your fingers and will help you later.
Using a handpiece, you will save no more than a few seconds! The micro engine is very powerful and therefore cannot stop immediately, but it can easily damage the bone thread by overtwisting the implant. The maximum rotation rate used to insert the implant must not exceed 200 rpm. Do not hurry, try to feel and remember the resistance of bone during implant placement.
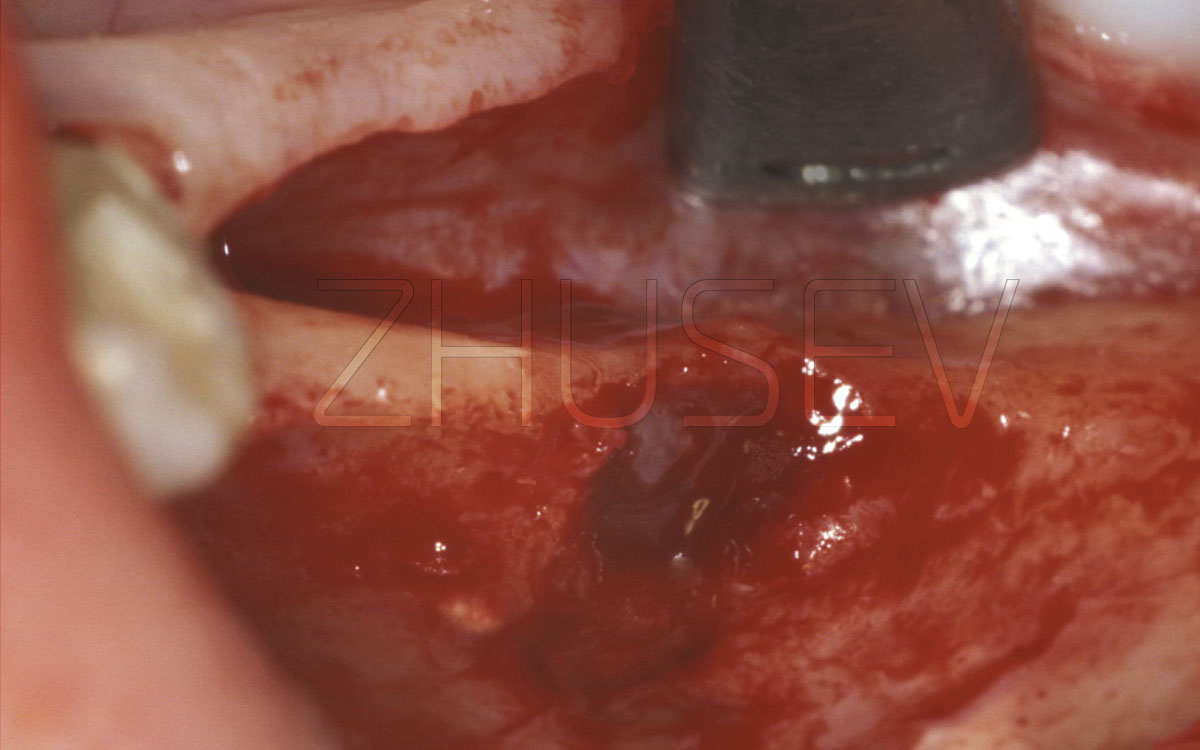
Before inserting the implant, examine the adjacent tissues. There are often fragments of connective tissue or shreds of periosteum left. Getting in between the bone and the implant, they may continue growing and may hinder bone growth around the implant. Therefore it is highly advisable that you should remove any fragments of connective tissue or shreds of periosteum left. To do it, use the curette or the spherical dental drill.
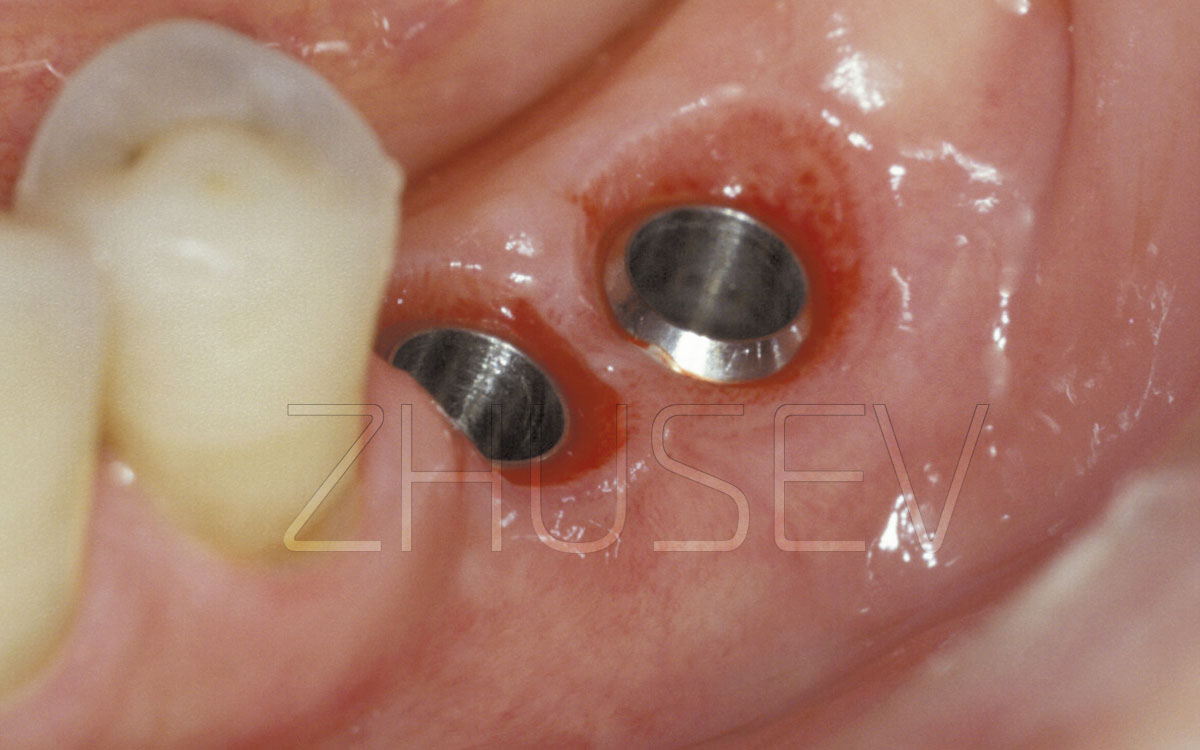
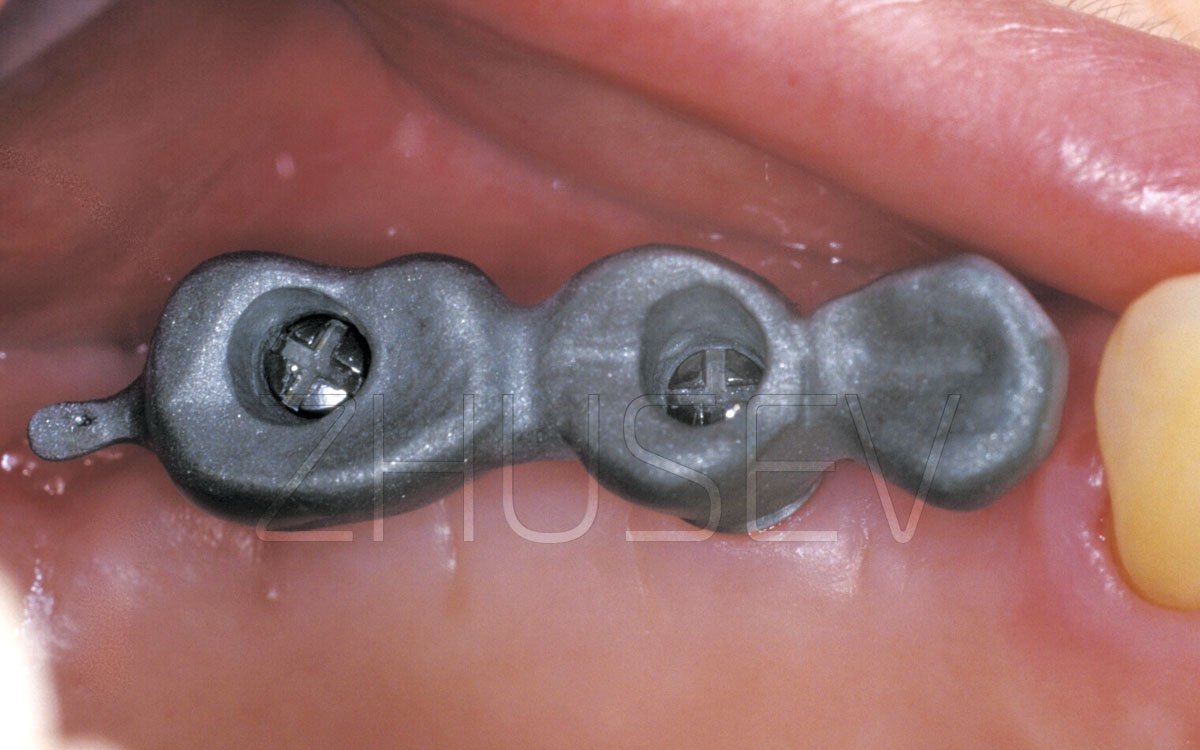
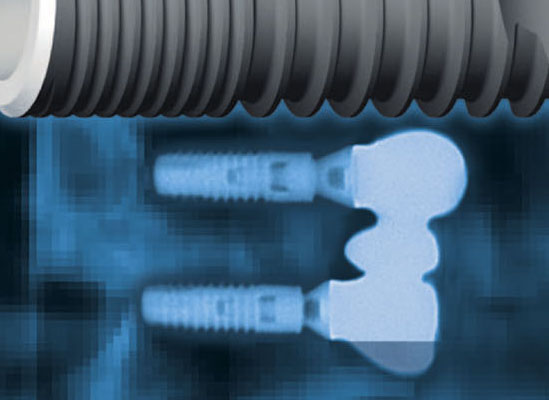
Carefully rinse the embedded implant (its internal surface) to remove blood residue 2.5-7G and install the cover screw. Attach the cover screw tightly but do not apply excessive force.


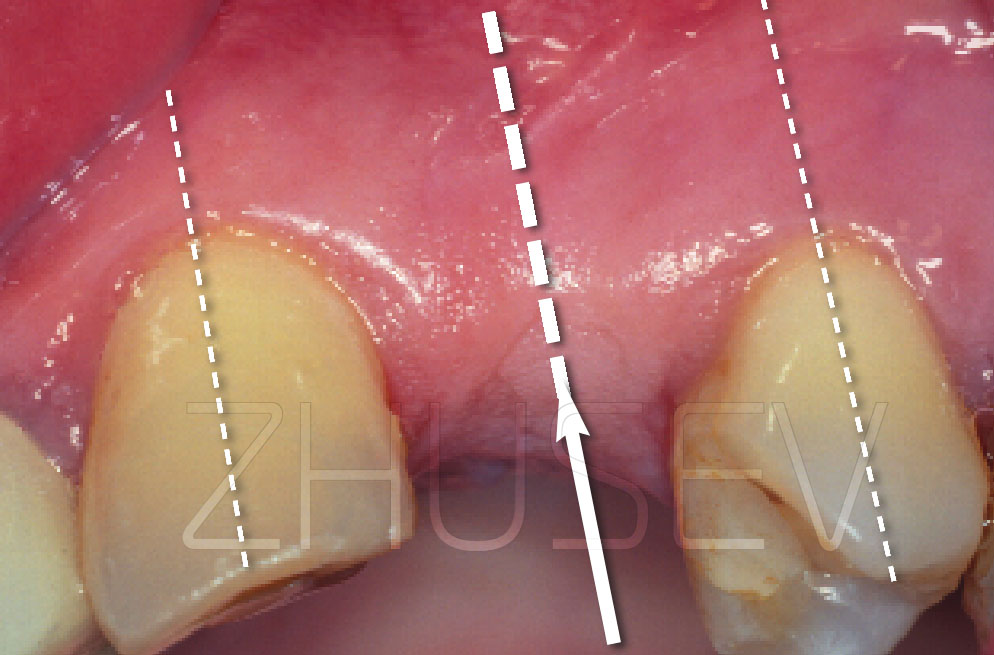
Before applying sutures, wash out residual bone chips, blood residue and fragments of connective tissue from under the mucoperiosteal flaps. If crowns have been recently removed from the adjacent teeth, the mucosal tissue surrounding the dental papilla is black. You’d better take it into consideration.
Start applying sutures at the distal aspect of the incision. The type of suture material is unimportant. Personally, I use Vicryl 2/0 to apply sutures at the lateral aspect of the maxilla and Vicryl 3/0 to apply sutures at the frontal aspect of the maxilla and to apply mandibular sutures 2.5-9.
Do not attempt to join the edges of the wound too tightly. Remember that tissues will inevitably swell. The swelling may be minor, but it is unavoidable. Too tight sutures may sink into the swollen tissue and eventually cut through them, which is especially dangerous in aesthetically relevant sites.


If mucoperiosteal flaps cannot be sutured to each other, do not panic, apply sutures so as to hold the flaps in place, use Solcoseryl Dental 2.5.12 to cover the open area.
Ask the patient to apply Solcoseryl Dental to the suture site 3 – 4 times a day until the sutures are removed. If you have managed to hermetically seal the wound without causing undue tension at the suture site, apply haemostatic solution to the suture line for 15 – 20 minutes.
Once the wound is sealed, press the mucosa with your finger near the mucobuccal fold to extrude residual blood and move it towards the incision and the suture.
Rinse the oral cavity carefully to remove residual blood left on teeth and interdental spaces.
The surgery is over
Provided there are no complications during the postoperative period, remove the sutures after 7 – 8 days.
Once you have mastered the two-stage-surgical procedure, have gained expertise in individual bone anatomy and have sharpened your tactile sensations working with jawbones, you can engage in a one-stage surgical procedure.


| Implant type | Localization | Surgery time | Anatomical peculiarities | Surgical peculiarities | Notes |