Implant stability is an important parameter. Speaking about the stability of a recently inserted implant, we call it primary implant stability. Secondary implant stability is acquired during the process of osseointegration. The OSSTELL device (Sweden) 2.5-13A can be used to measure implant stability in implant stability quotient (ISQ) units.
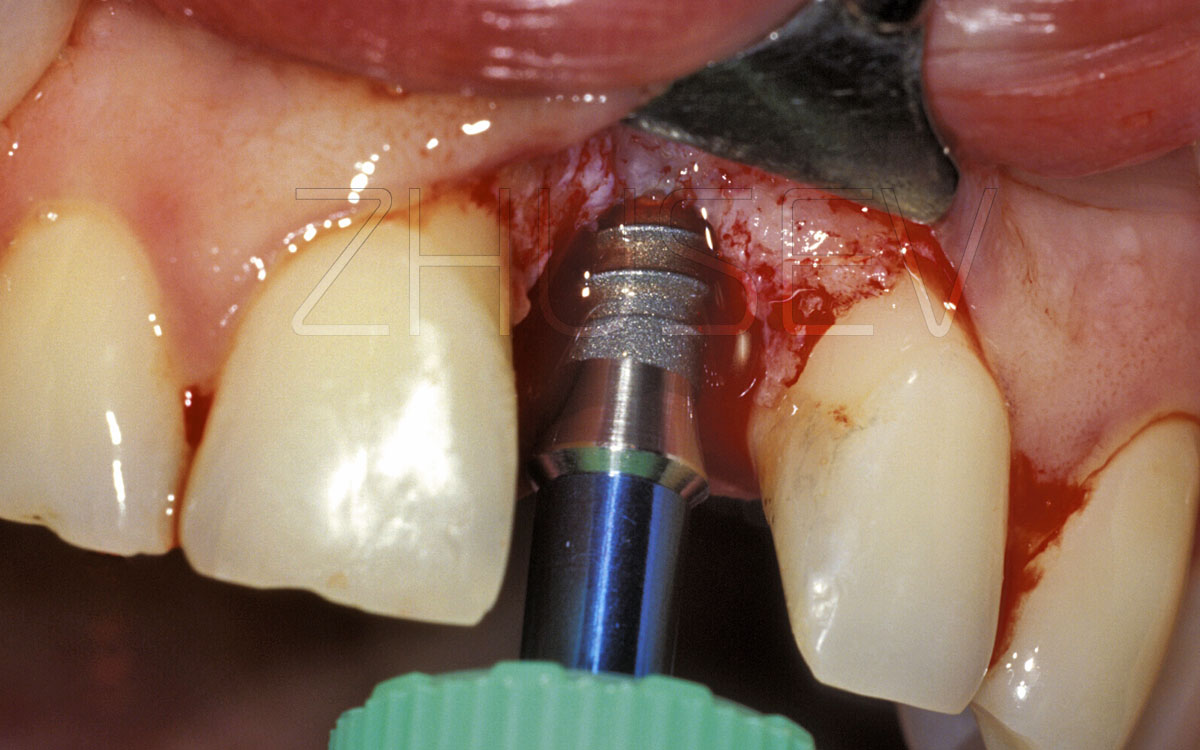
I do not intend to describe the technical characteristics of the device (you can find them using QR codes). Let us concentrate on its work. Screw the probe 2.5-13B into the inserted implant (before sealing the wound) and approach it with the device. The implant stability quotient will be displayed in 1 – 2 seconds.
The clinical range of ISQ is normally 50 – 80 (higher ISQ indicates greater stability, shorter integration period, no need for osteogenetic therapy). Comparing primary implant stability measured during the first stage of surgery and secondary implant stability measured during the second stage of surgery (abutment placement), you will be able to choose a successful strategy.
If primary implant stability is within the abovementioned range, while the secondary stability remains the same (or better, even higher), you can assign prosthetic procedures. However, if stability level is lower, let the patient wear the healing abutment 2 – 3 weeks more (applying Osteogenon) to repeat measurements later.
Only then the patient’s prosthetic treatment plans can be outlined. A temporary prosthesis with a minimum amount of occlusal contacts may be an option.


Let us discuss the selection of the pivot point and the peculiarities of bone surgery.
It is important to properly position the patient (the turn of the patient’s head) in relation to the position of the dental surgeon. To determine the pivot point of initial bone drilling, the surgeon’s eye must be at the same axis.
The surgeon is traditionally positioned to the right of the patient and experiences no discomfort when assessing the operation field, the proposed implant site, and implant inclination. The majority of problems are associated with the determination of the pivot point on the left side of the patient’s jawbone.
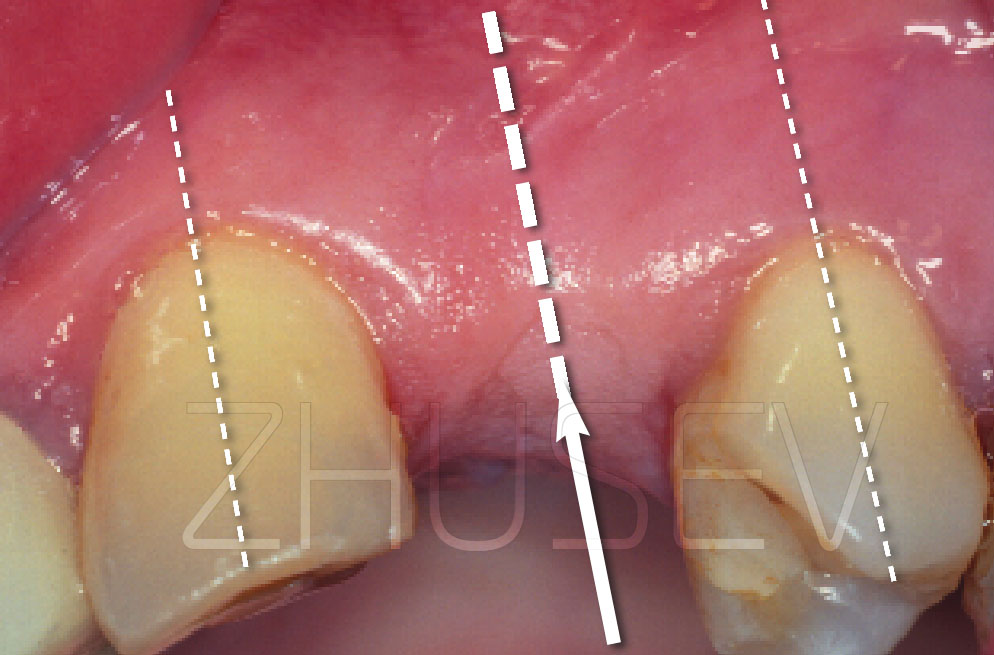
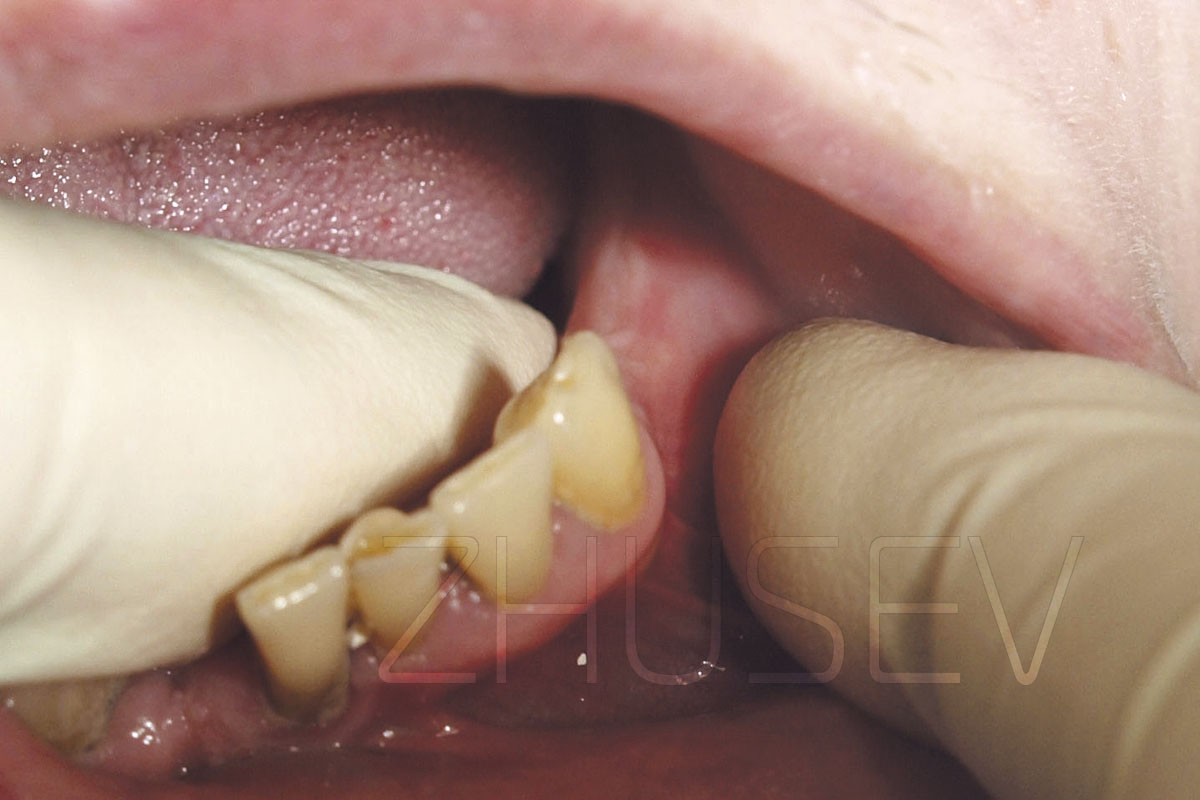
Let us consider a simple example. We intend to replace tooth No 36 with an implant. Examining the patient, we see what is pictured in 2.5-14A and start subconsciously dividing the space between the distal point of the occlusal surface of tooth No 35 and the medial point of the precervical area of tooth No 35. The resulting point is shown in 2.5-14A.


But should we ask the patient to turn their head to the right and move to the right too, we will be able to evaluate the real interdental area 2.5-14B.
Evaluating the interdental area from this position, we realize that it is much larger than previously determined. Now we see that the pivot point is rather distal, which may cause problems associated with the prosthetic procedure.
Moreover, to determine the depth of insertion and to select an implant of proper length, we must remember that the alveolar crest is seldom smooth and wide. It usually resembles a triangle or a truncated pyramid.
Assessing alveolar bone height, we often neglect the abovementioned fact and measure the bone height (i.e. implant length) starting with the alveolar crest, which will be subsequently grinded to form a truncated cone. Therefore, the resulting bone height will be reduced and we will have to select a shorter implant.


Let us consider a few illustrations by means of which I will try to describe the proper procedure of outlining the implant surgery plan (screw thread type implant). Look at the cross-section of the alveolar crest of the lateral part of the jaw. Let’s suppose that we have measured the bone height (from point A to point B), have concluded that it equals 10 mm, and have order an implant of the corresponding length 2.5-15A.
Drilling the bone using the Lindemann drill or the pilot drill, we will register no inclination. But it is foreseeable that should we take a 3 – 4 mm drill, point A will shift to B. Hence, instead of a 10 mm implant we will manage to insert an 8 mm implant to avoid nasal cavity perforation or maxillary sinus perforation 2.5-15B.
It is natural that drills (implants) of larger diameter, greater vestibular inclination, and greater vestibule-oral inclination trigger off a greater shift from point A to point B. Hence, the diameter of the implant will be smaller!


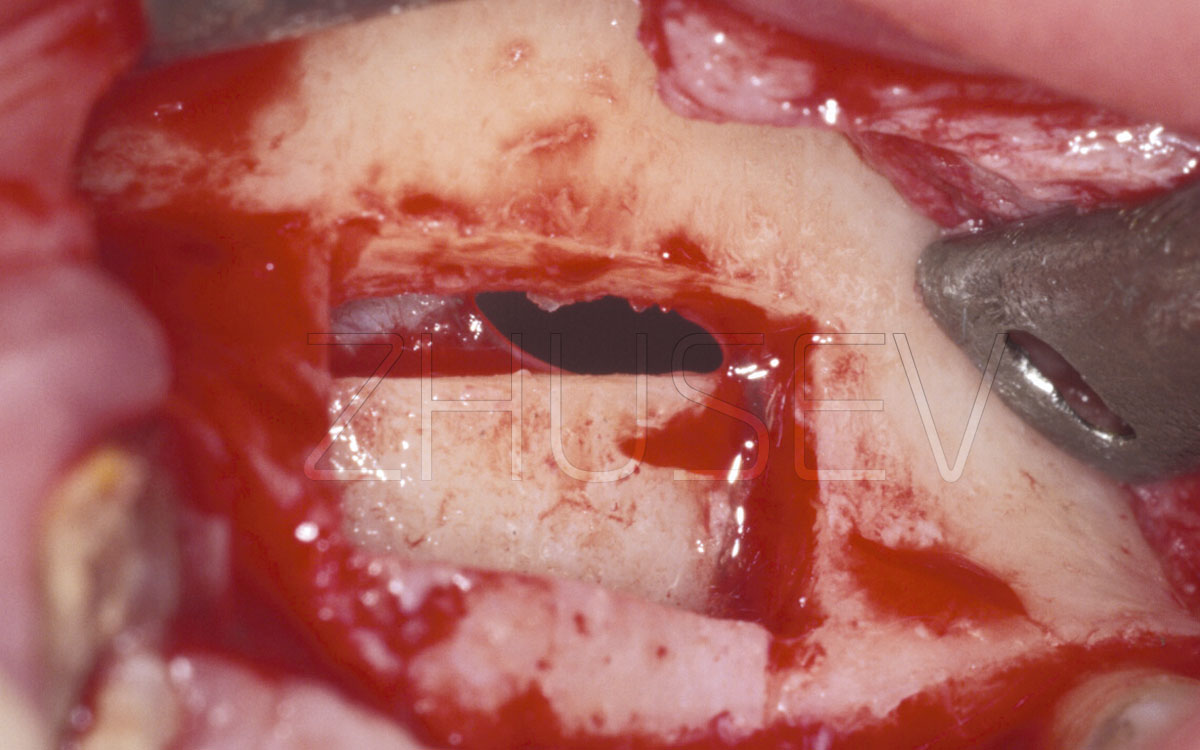
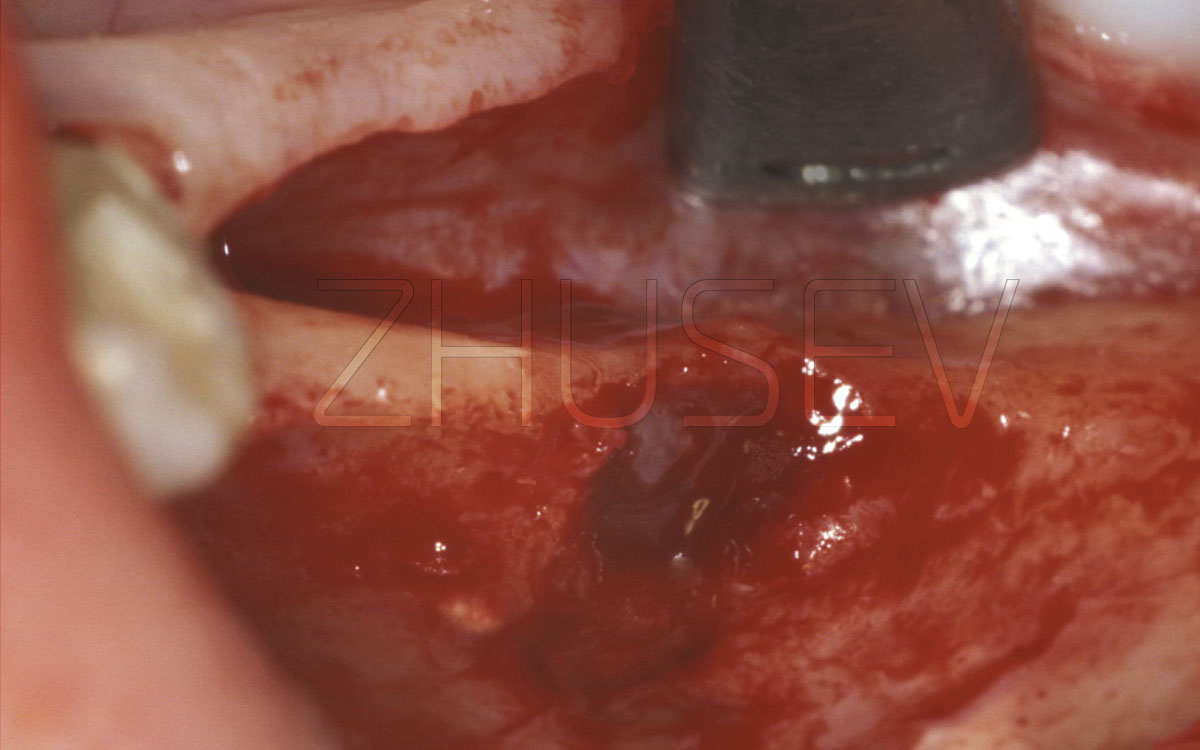
As experience shows, anatomical and topographical individual characteristics can be truly appreciated only after the mucoperiosteal flap has been elevated. In some cases a surgeon has to substitute a smaller implant for the previously chosen one. That is why there should always be an assortment of implants.
And finally, all taps and surgical drills have depth marks. If your pre-drilling assessment is correct, the depth mark should be either level or slightly submerged.


INSERTING IMPLANTS WITH MULTI-START MICROTHREADS
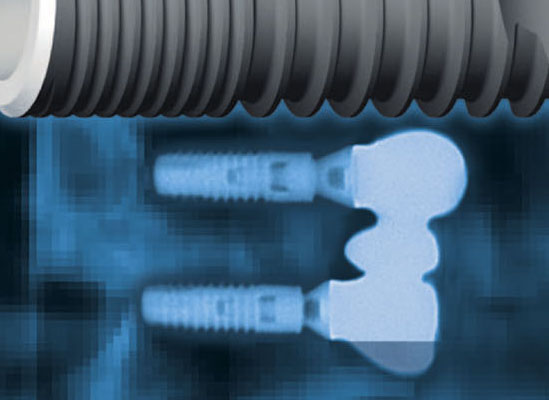
It has been clinically proven that multi-start microthreads made in cortical bone decelerate bone loss caused by chewing pressure. Nowadays, it is a standard procedure to use implants with macrothreads, which are effective in the cancellous bone, and microthreads, which are effective in the cortical bone.
Nowadays, almost all large scale producers of dental implants supply implants of this type.
The surgical guidelines for implant placement are largely universal with one important deviation.
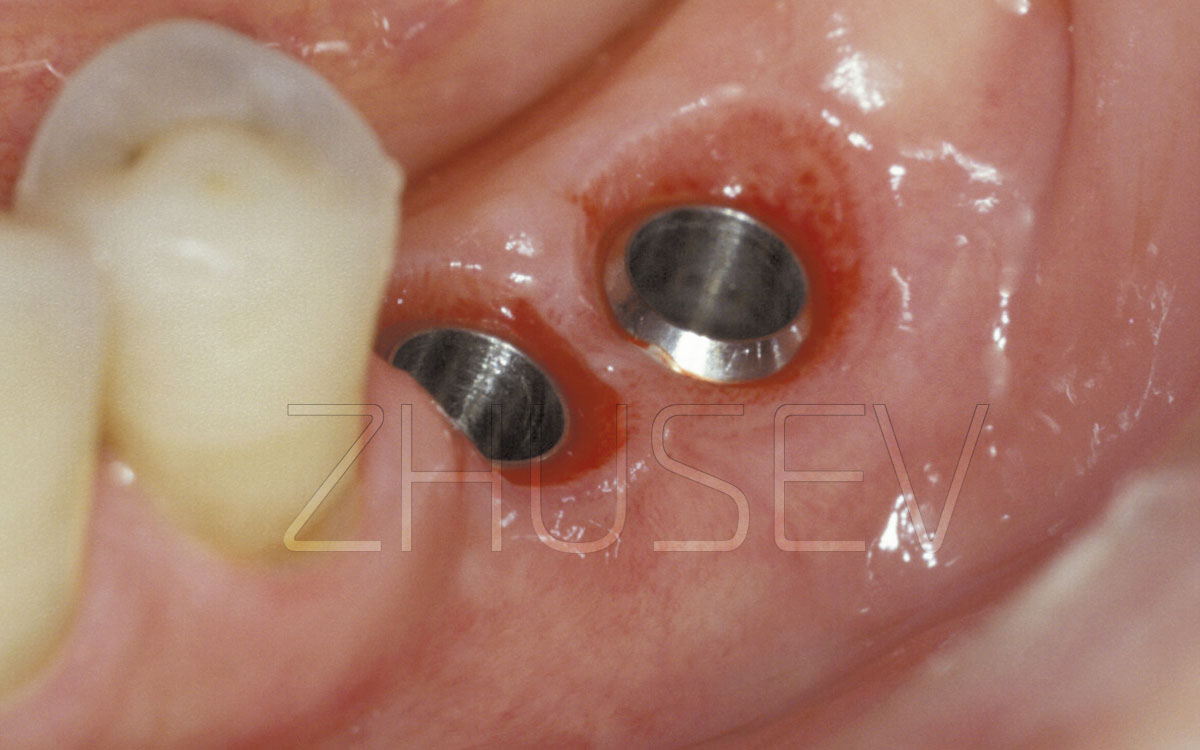
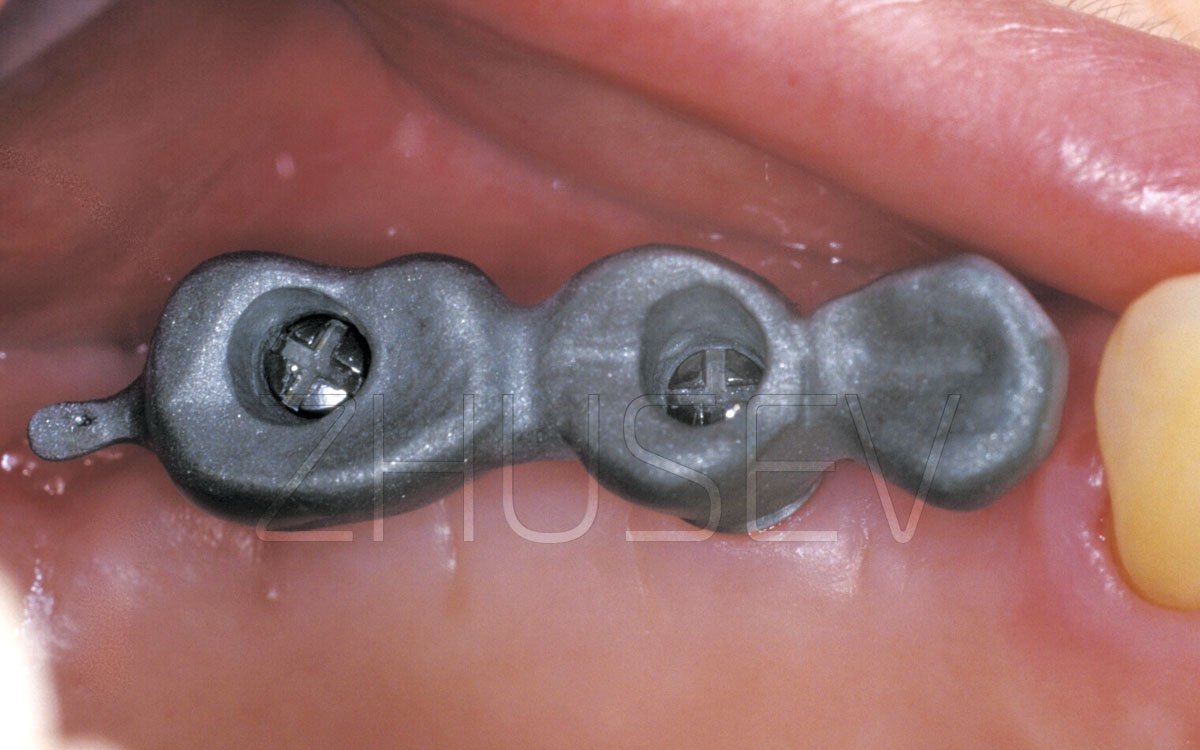
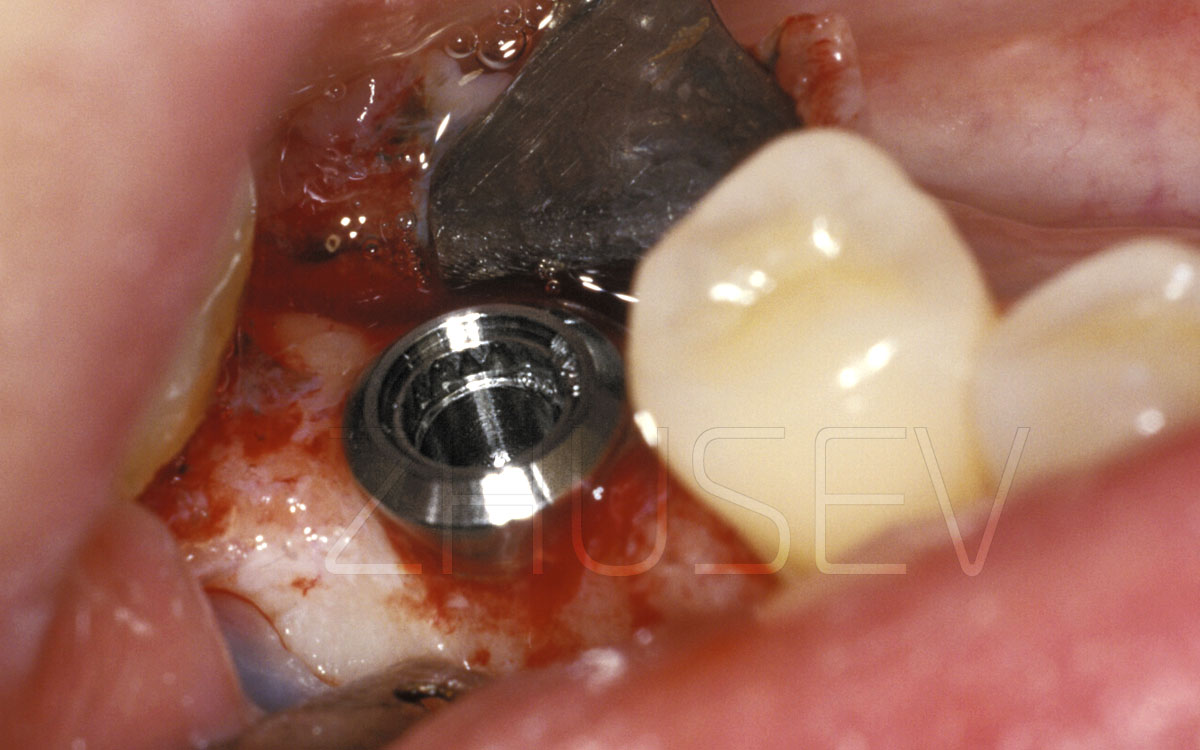
During surgery, it is essential that you should see to it that the microthreads are completely submerged and are not visible. This promotes bone growth and in the process of osseointegration, bone tissue may even grow over the cover screw. It may complicate the healing abutment placement but, in the long run, ensures implant longevity.