© Non-classified materials. An illustrated manual of implant dentistry.
Main » Prosthetic procedure

 prev page
 next page Impressions. Closed tray
3.1 Healing caps
Healing caps Healing caps Healing caps Healing caps Healing caps Healing caps Healing caps
 

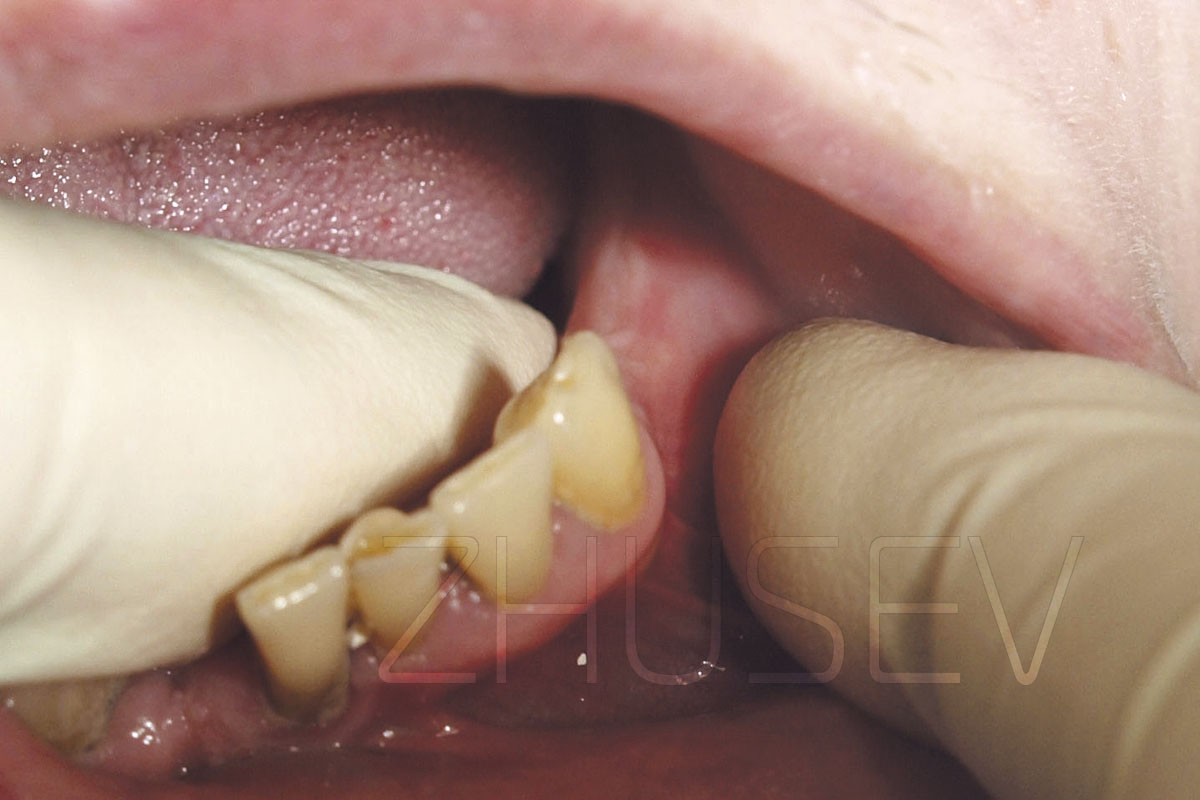
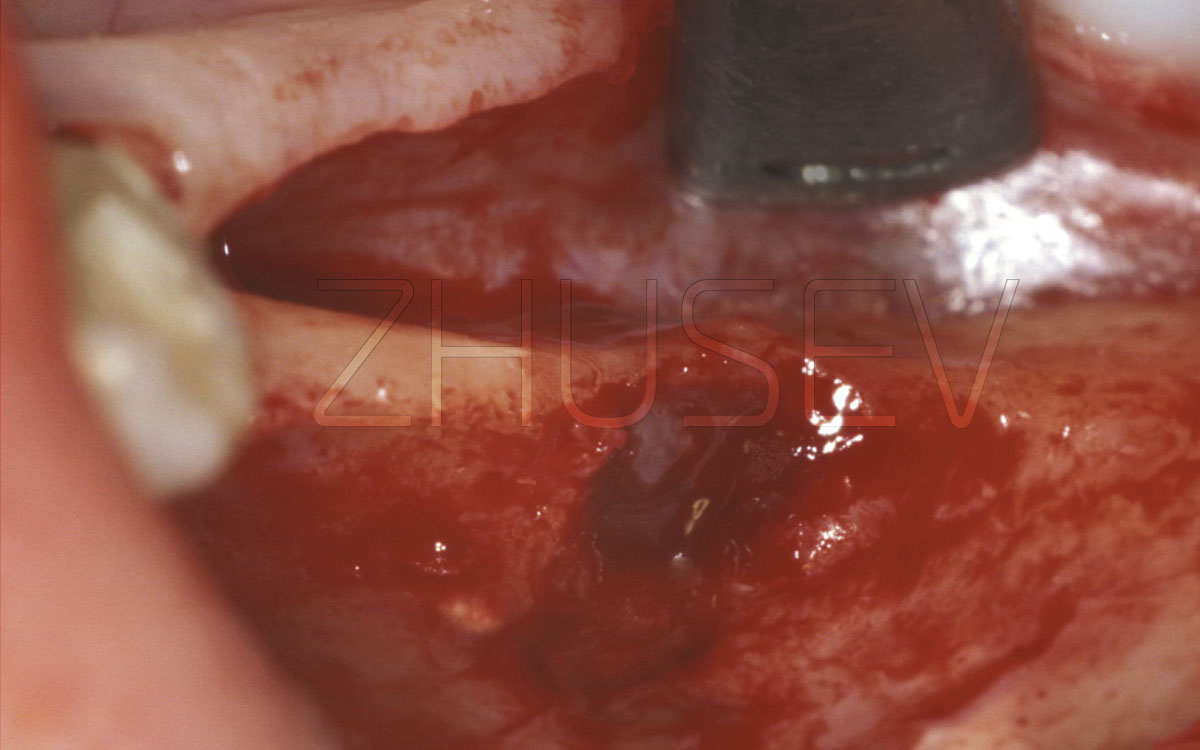
After the period of osseointegration we make a reference X-ray and, if everything suits us, we can go on to the placement of the healing cap. Here, the task is to accurately uncover soft tissues directly above the cover screw, to turn it out and place a healing cap. There are a lot of methods to reveal the cover screw – from making a small cut above the placed implant with a lancet to application of diathermy coagulator and laser. In fact, I have tried all these techniques and chosen a very simple tool – a soft tissue trimmer 3.1-1. This allows removing the soft tissues very accurately, with a minimal risk of trauma, and forming in them a hole of any shape defined.

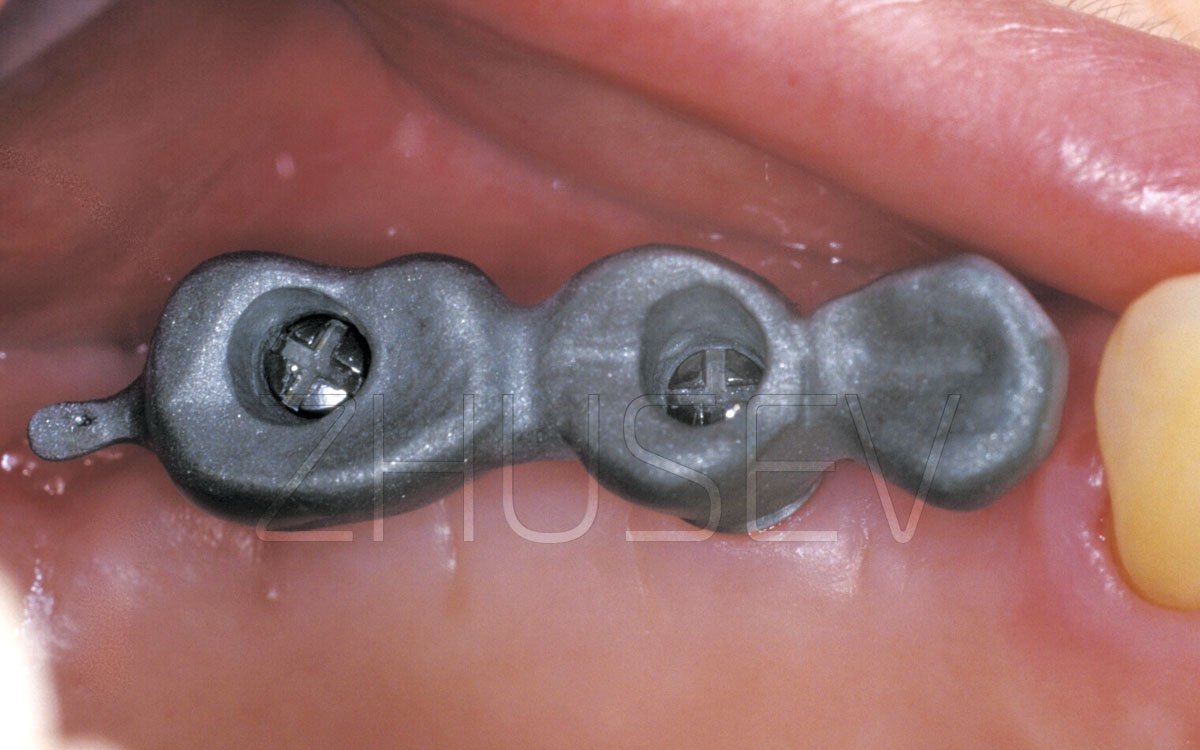
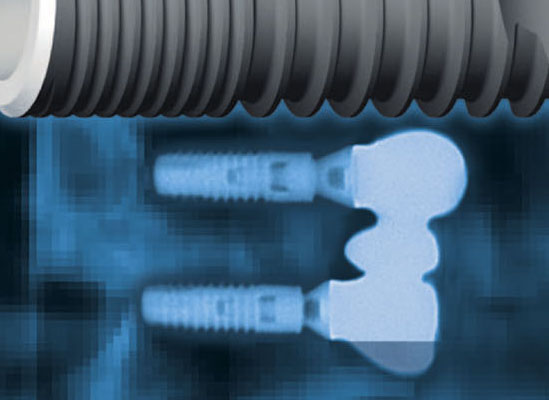
After uncovering the mild tissues we firmly put the screwdriver into the cover screw and turn it out. Clean thoroughly the internal surface of the implant and then screw the healing cap on, covered with Solcoseryl dental adhesive paste (try to put the paste not on its thread, but on the part that is to contact the mucosa 3.1-2D.

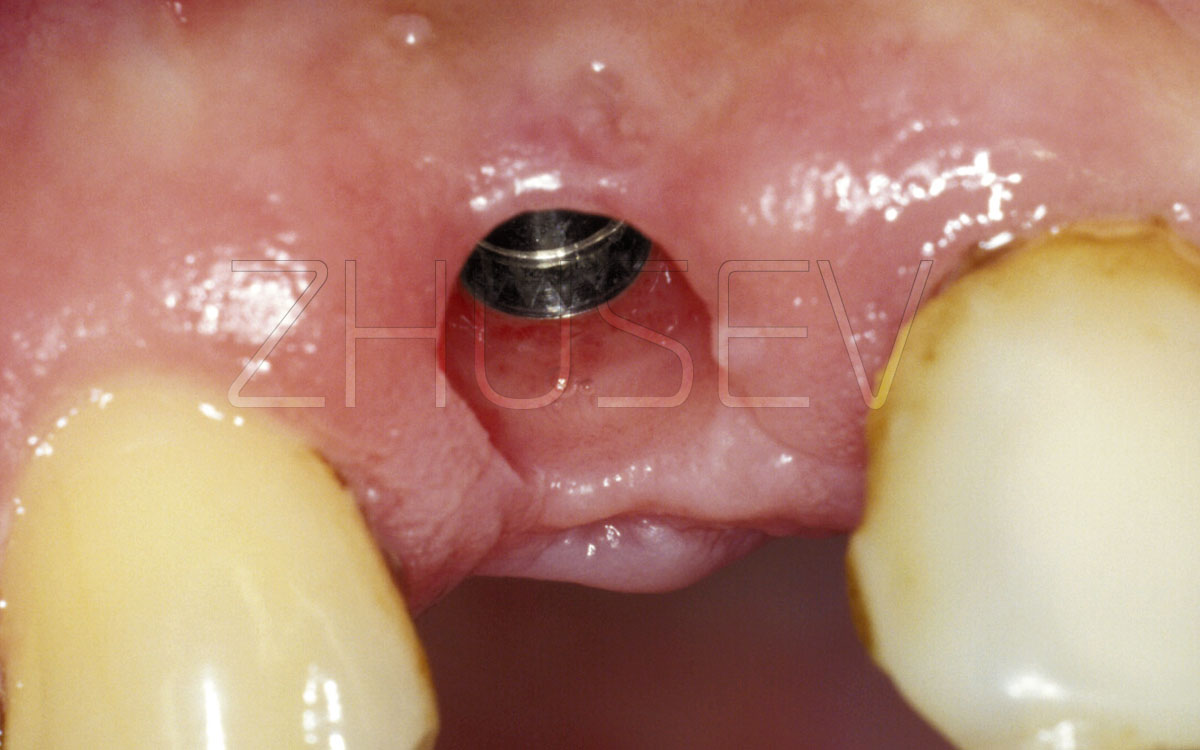
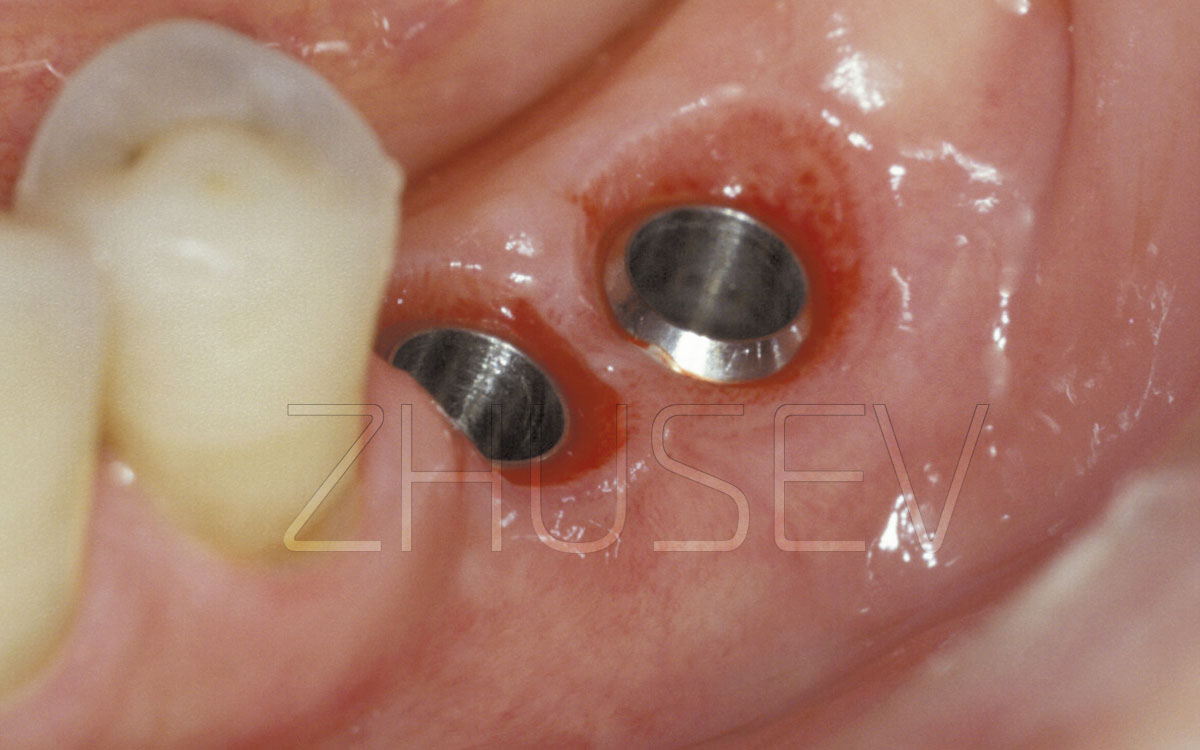
It is important that the healing cap should extend above the level of surrounding mucosa distinctly at least 1 -2 mm 3.1-4. Normally, the healing cap is retained in this position for another 5 to 7 days.

If after this time you unscrew the healing cap and see that the gingival tissues are bleeding, put on some Solcoseryl dental adhesive paste again and leave the healing cap covered for another 5-7 days. If you do not do it and immediately start taking impressions, it is very likely that the impression material may penetrate into subgingival space (especially when the compression technique impression is applied), get off while being removed, and afterwards cause a serious inflammation.

To avoid any misunderstanding, the patient should always be informed that since the moment of the healing cap’s installation and until the start of restoration, depending on specific features of a patent's organism and tissue response, it may take 5 to 25 days!


3.1-1 A soft tissue trimmer.
 
3.1-2A There are two implants under the soft tissue coverage now.
 
3.1-2B Insert a soft tissue trimmer into an air-turbine handpiece. With circular movements, remove the mucosa fragment to open the implant. Never use water cooling.
 
3.1-2C In the same way, we uncover the second implant and turn out the cover screws. In case a “corroded” cover screw cannot be screwed out, place the screwdriver tightly into the cover’s headslot and turn it counterclockwise briefly and with an effort. To do this, you can use a ratchet (a wrench).
 
3.1-2D We put some Solcoseryl dental adhesive paste оn the selected healing cap, which after fitting the healing cap will accurately fill in the space between the healing cap and the gingival tissue.
 
3.1-2E Both healing caps have been fitted.
 
3.1-3 Please note that after uncovering the implant with the soft tissue trimmer, high quality mucosa can be formed even in case of significant thickness.
 
3.1-4 The healing cap should extend above the level of the surrounding mucosa, especially if there are high interdental papilla located nearby.
 

Problems of the prosthetic procedure 4.9 Errors and Complications   
Sinus lift complications 4.7 Errors and Complications   
Sinus lift 2.8.3 Surgical Procedure   
On shape and surface morphology of dental implants 1.3 Introduction   
Occlusal screw-retained crowns 3.4 Prosthetic procedure   
Preoperative examination 2.2 Surgical Procedure   
Splitting an alveolar ridge 2.8.5 Surgical Procedure   
On implants and implant key terms 1.1 Introduction   
Initial meeting with the patient 2.2.1 Surgical Procedure   
Implant selection 2.2.2 Surgical Procedure   

 prev page
 next page Impressions. Closed tray