prev page
next page
5.1
Recommendations
Recommendations Recommendations Recommendations Recommendations Recommendations Recommendations Recommendations
In the concluding part, I would like to share a number of recommendations with you. You may disagree with some of them but your patients are sure to benefit from them, and you are sure to feel professionally satisfied and needed by people.
- Be attentive and patient with your patients. Try to understand what caused the defects you observe.
- Always choose the treatment plan you would choose for yourself.
- If the patient’s problems exceed your professional abilities, don’t hesitate to tell him/her about it. There is nothing worse than embarking on an unmanageable task and later on eliminating complications you don’t know how to deal with!
- Bone is a living tissue of our body, and it reacts to all your interventions. You must treat it carefully. The implant and its components form a well-developed and tried-and-true biomechanical configuration. It’s your tool. You must not only know all the components of the implantation system but also be aware of when, where and how to use them.
- The main problem that leads to implant disintegration (4 – 8h weeks after the surgery) is thermal injury of the bone tissue during preparation. Thermal burn of the bone can result not only from high speed of the cutting tool but also from excessive pressure applied to it, that’s why as soon as you feel that it takes more effort to use the cutting tip or the bone drill, you’d better stop and use a tool with a smaller diameter or special drills (Lindeman drill, IP to achieve the necessary depth, and only then return to the required diameter.
- Remember that implantation surgery is based on team work. It’s a unity of decisions and actions made by a dental technician, an orthopedist and a surgeon. Everyone has their say, and everyone is responsible for the final result!
- Don’t try to install as many implants as possible (unless it is motivated by clinical and not economic considerations). The more implants the configuration includes the more difficult is the production, fitting and fixation of a prosthesis.
- Any surgery must be as short as possible, but you mustn’t hurry. Spare no saline solution! It must flow, not drip, and be cold and sterile!
- Don’t promise the moon! It is not as difficult to restore the integrity of the dental arch as to make the patient comfortable and happy with your job!
- Unfortunately, drills and burrs for bone preparation used in implant installation tend to lose their sharpness and cutting properties. And the denser the bone you have to deal with, the sooner it happens! Remember to replace the tools with new ones in due course.
- Different aids and facilities tend to break or fail at the most inappropriate moment. Do learn to do things manually if electronics fails you. Only when you learn to do the sinus lift procedure with the help of a ball-shaped cutter, and bone splitting osteotomy with a Lindeman drill, you will become a real professional, and no equipment failure will scare you.
- The work of a surgeon greatly depends on the knowledge of the individual topographic anatomy and the sensitivity of hands. Constantly practice your fine motor skills. Perform “phantom surgery” on animal bones or, which is even better, take up a suitable hobby: embroidering, canework, drawing, woodcarving, metalsmithing, etc.
- Try to make photos or videos of different stages of your work. Many times, looking through these materials I came across some nuances or faults I hadn’t noticed while working! One can advance only evaluating the results of one’s own work objectively. Remember that you can cheat anyone but yourself.
- The impression transfer must be perfectly clean, when installing it always clean and dry the inner surface of the implant carefully. The tiniest bits of plaster or food particles, if they get on a loosely fixed healing cap, may greatly distort the positioning of the implant replica in the dental cast model.
- All manufacturers of implants constantly develop and improve their products. And when there comes a patient “from way back” to replace some components, it is sometimes difficult to decide on the parameters, coupling size, etc. That’s why keep not only the information about the patient, the implant, the abutment, the retaining screw, but also product catalogues of the companies your work with for all the years. They will not occupy too much space and will appear to be very useful.
- When trying in and fitting implant-supported dental protheses never use the torque wrench to fix/tighten abutments. Tighten and loosen retaining screws with your hands, use the wrench for final fixation only. Always follow the implant manufacturer’s recommendations concerning the torque.
- The inner screw that attaches the abutment to the implant in the process of making the dental prosthesis is repeatedly tightened and loosened by the dental technician and the orthopedist. Thus, the screwdriver socket can wear out and even come off during final fixation causing a lot of trouble. Therefore, at all implantation stages it is better to use a special technical screw and use the one provided with the abutment at the final stage only.
- Don’t complicate the configuration. Look for a simple and efficient solution. Experience has proven that sophisticated locking/snappy, composite constructions with a lot of elements and screws complicate the life of the patient and the implantation team considerably.
- The bone adjoining the implant has no nerve fibres responsible for sensitivity to pain. And if something goes wrong, the patient doesn’t feel it immediately and comes to see us when things have gone too far. That’s why it is necessary to invite your patient for a check-up 6 months and a year after the fixation of the prosthesis. If you don’t find anything alarming during the check-up, you may be sure that the patient will have no trouble for many years. But should anything go wrong, it is not too late to interfere and set things right.
- Try to attend as many specialized congresses, conferences and seminars as possible, read more books, magazines and watch more videos on the topic. Make use of the Internet. It will help you to become an expert, for implant dentistry is a relatively new and fast-developing branch of dentistry, where yesterday’s postulates become outdated today.
→ Nil Desperandum
Most popular article
 Preoperative examination 2.2 Surgical Procedure
  Problems of the prosthetic procedure 4.9 Errors and Complications
  Sinus lift complications 4.7 Errors and Complications
  Initial meeting with the patient 2.2.1 Surgical Procedure
 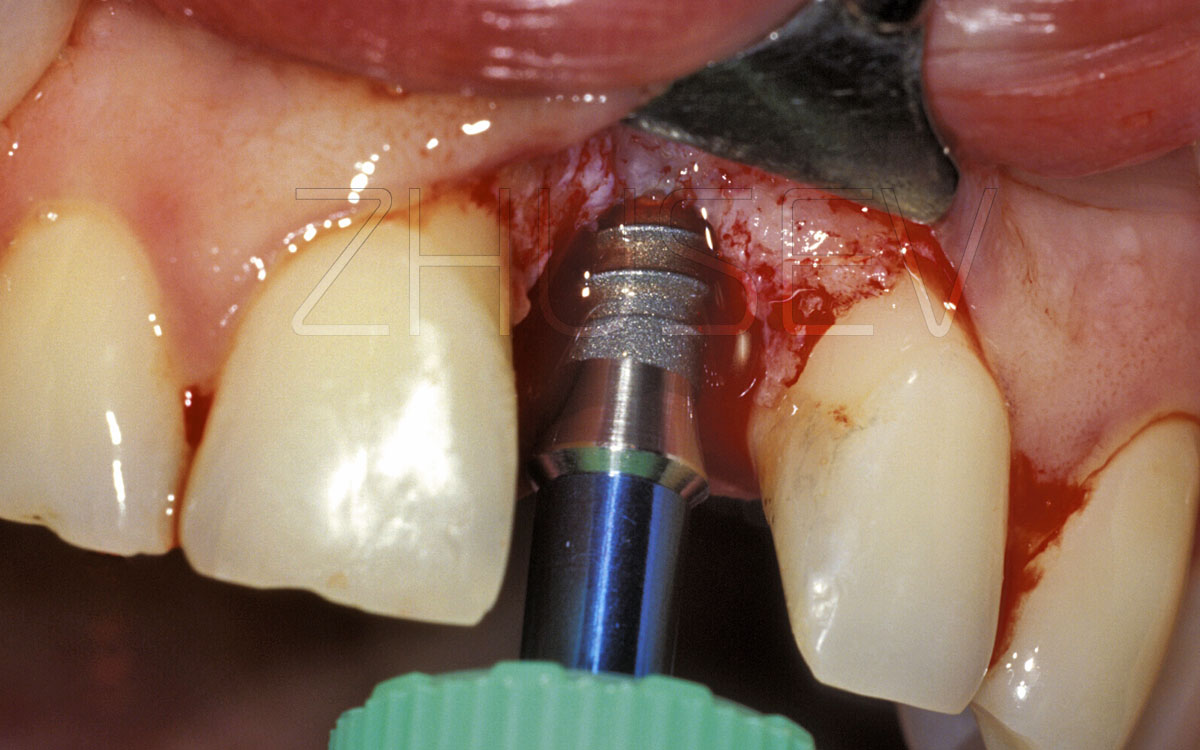 On shape and surface morphology of dental implants 1.3 Introduction
  Sinus lift 2.8.3 Surgical Procedure
  Occlusal screw-retained crowns 3.4 Prosthetic procedure
  On implants and implant key terms 1.1 Introduction
  Splitting an alveolar ridge 2.8.5 Surgical Procedure
  Implant selection 2.2.2 Surgical Procedure
prev page
next page
